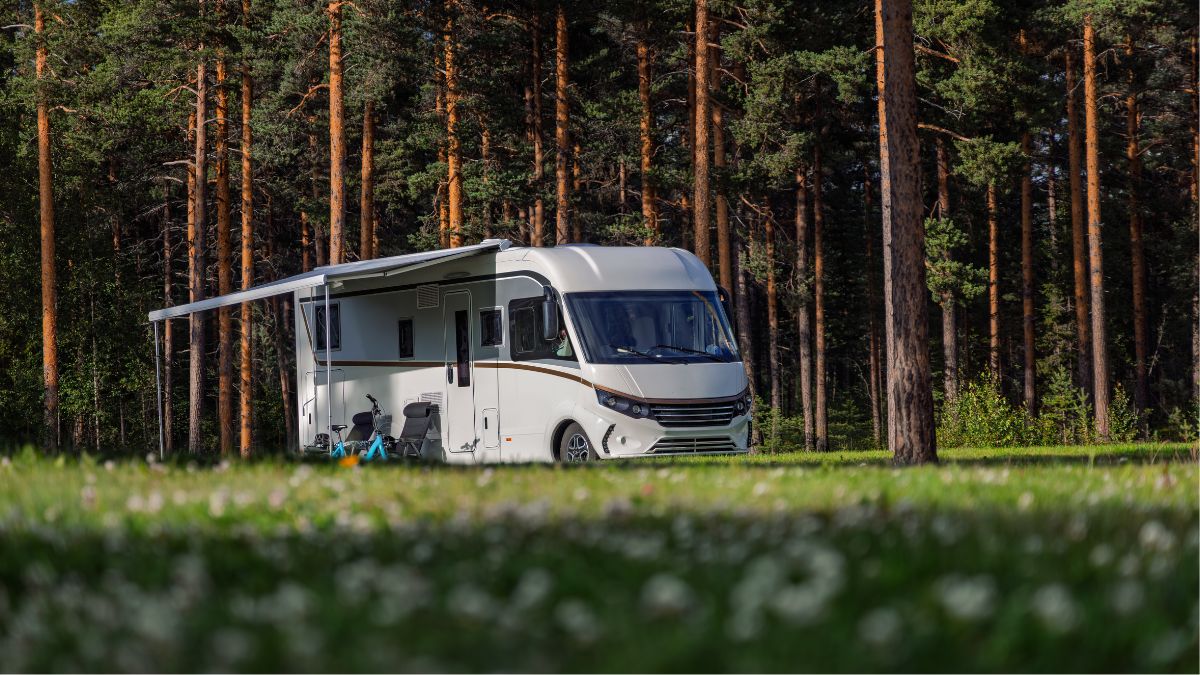
Modern recreational vehicles are packed with clever engineering that most owners discover only by accident, if at all. Manufacturers have quietly built in a remarkable number of practical innovations designed to make life on the road more comfortable, efficient, and safe. From storage solutions tucked into unexpected corners to systems that work silently in the background, these features are easy to overlook during a typical walkthrough. Whether you are a weekend warrior or a full-time nomad, knowing what your RV is truly capable of can transform every trip. Read on to discover the hidden gems that may already be waiting inside your home on wheels.
Slide-Out Underbelly Storage

Most RV owners load their gear through the side bays without ever investigating what lies beneath the main slide-out room. Many manufacturers install a secondary storage compartment in the underbelly of the slide, accessible only when the room is fully extended. This hidden cavity is perfectly sized for flat items like folding chairs, outdoor rugs, or awning accessories. It stays protected from road debris and weather, making it one of the driest and most secure spots in the entire vehicle. Consulting your chassis manual or floor plan diagram is the best way to confirm whether your model includes this feature.
Tankless Water Heater Bypass
A small valve assembly hidden behind a cabinet panel near the water heater allows you to completely bypass the tank and draw directly from a fresh source during winterization. This bypass is installed on virtually every modern RV but goes unnoticed because it is tucked behind removable trim or inside a narrow utility closet. Using it correctly can save hours of work during seasonal maintenance and protects internal components from freeze damage. Many owners spend years paying technicians for this service before realizing the bypass was always within reach. Your water heater manual will identify the exact location and valve configuration for your specific unit.
Dual-Zone Thermostat Wiring
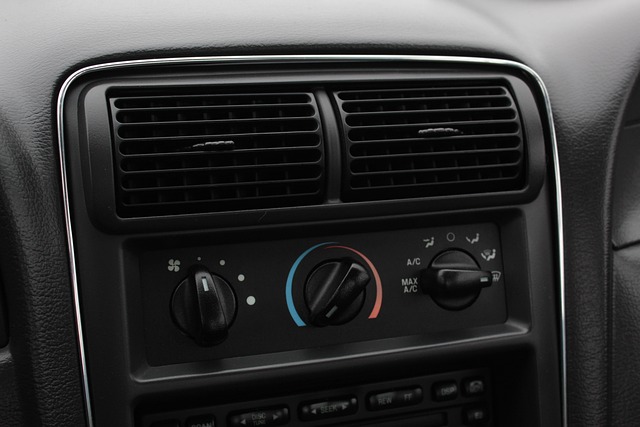
Many mid-range and luxury RVs are pre-wired for a second thermostat zone even when only one climate control unit is installed at the factory. This means the ceiling, walls, and floor channels already carry the necessary wiring to support a front and rear zone system without any major renovation. Adding a compatible thermostat to the existing wiring can dramatically improve temperature distribution, particularly in longer coach-style models. The secondary junction box is typically located inside a bedroom wardrobe or behind the master bed headboard. An RV-certified electrician can activate the second zone in a matter of hours once the wiring is confirmed.
Roof Vent Rain Sensor
Certain FantasticFan and Maxxair vent models include a built-in rain sensor that automatically closes the cover the moment moisture is detected, even when the fan is running on high. This feature is frequently overlooked because it is activated through a secondary switch setting rather than a prominent button on the main control panel. It is particularly valuable for owners who leave vents open overnight or step away from the rig during unpredictable weather. The sensor uses conductivity across two small metal contacts to detect the first drops and triggers the motor within seconds. Checking your vent model number and cross-referencing it with the manufacturer’s feature sheet will confirm whether your unit has this capability.
Shore Power Transfer Switch
Every RV equipped with both a generator and a shore power hookup contains an automatic or manual transfer switch that prevents both sources from feeding the electrical system simultaneously. This critical safety component is usually mounted inside the front utility bay or directly beside the power converter and goes unnoticed because it operates silently during normal use. Understanding its location allows you to manually override a failed automatic switch during a power interruption without calling for roadside assistance. The switch also protects sensitive electronics and appliances from voltage spikes during source transitions. Locating it during a calm, non-emergency moment ensures you are fully prepared if the system ever needs manual intervention.
Fresh Water Tank Vent Valve

A small vent valve connected to the fresh water tank allows air to escape as the tank fills, preventing pressure buildup that can cause slow fill speeds or gurgling sounds throughout the plumbing system. This valve is typically positioned on the exterior of the rig near the fill port, disguised as a simple drain cap or bleed screw. Many owners mistake a slow tank fill for a pump issue when the real cause is a closed or debris-blocked vent. Opening the valve fully before filling the tank results in noticeably faster fill times and eliminates trapped air in the lines. A quick visual inspection and gentle cleaning with a pipe cleaner each season keeps this component functioning perfectly.
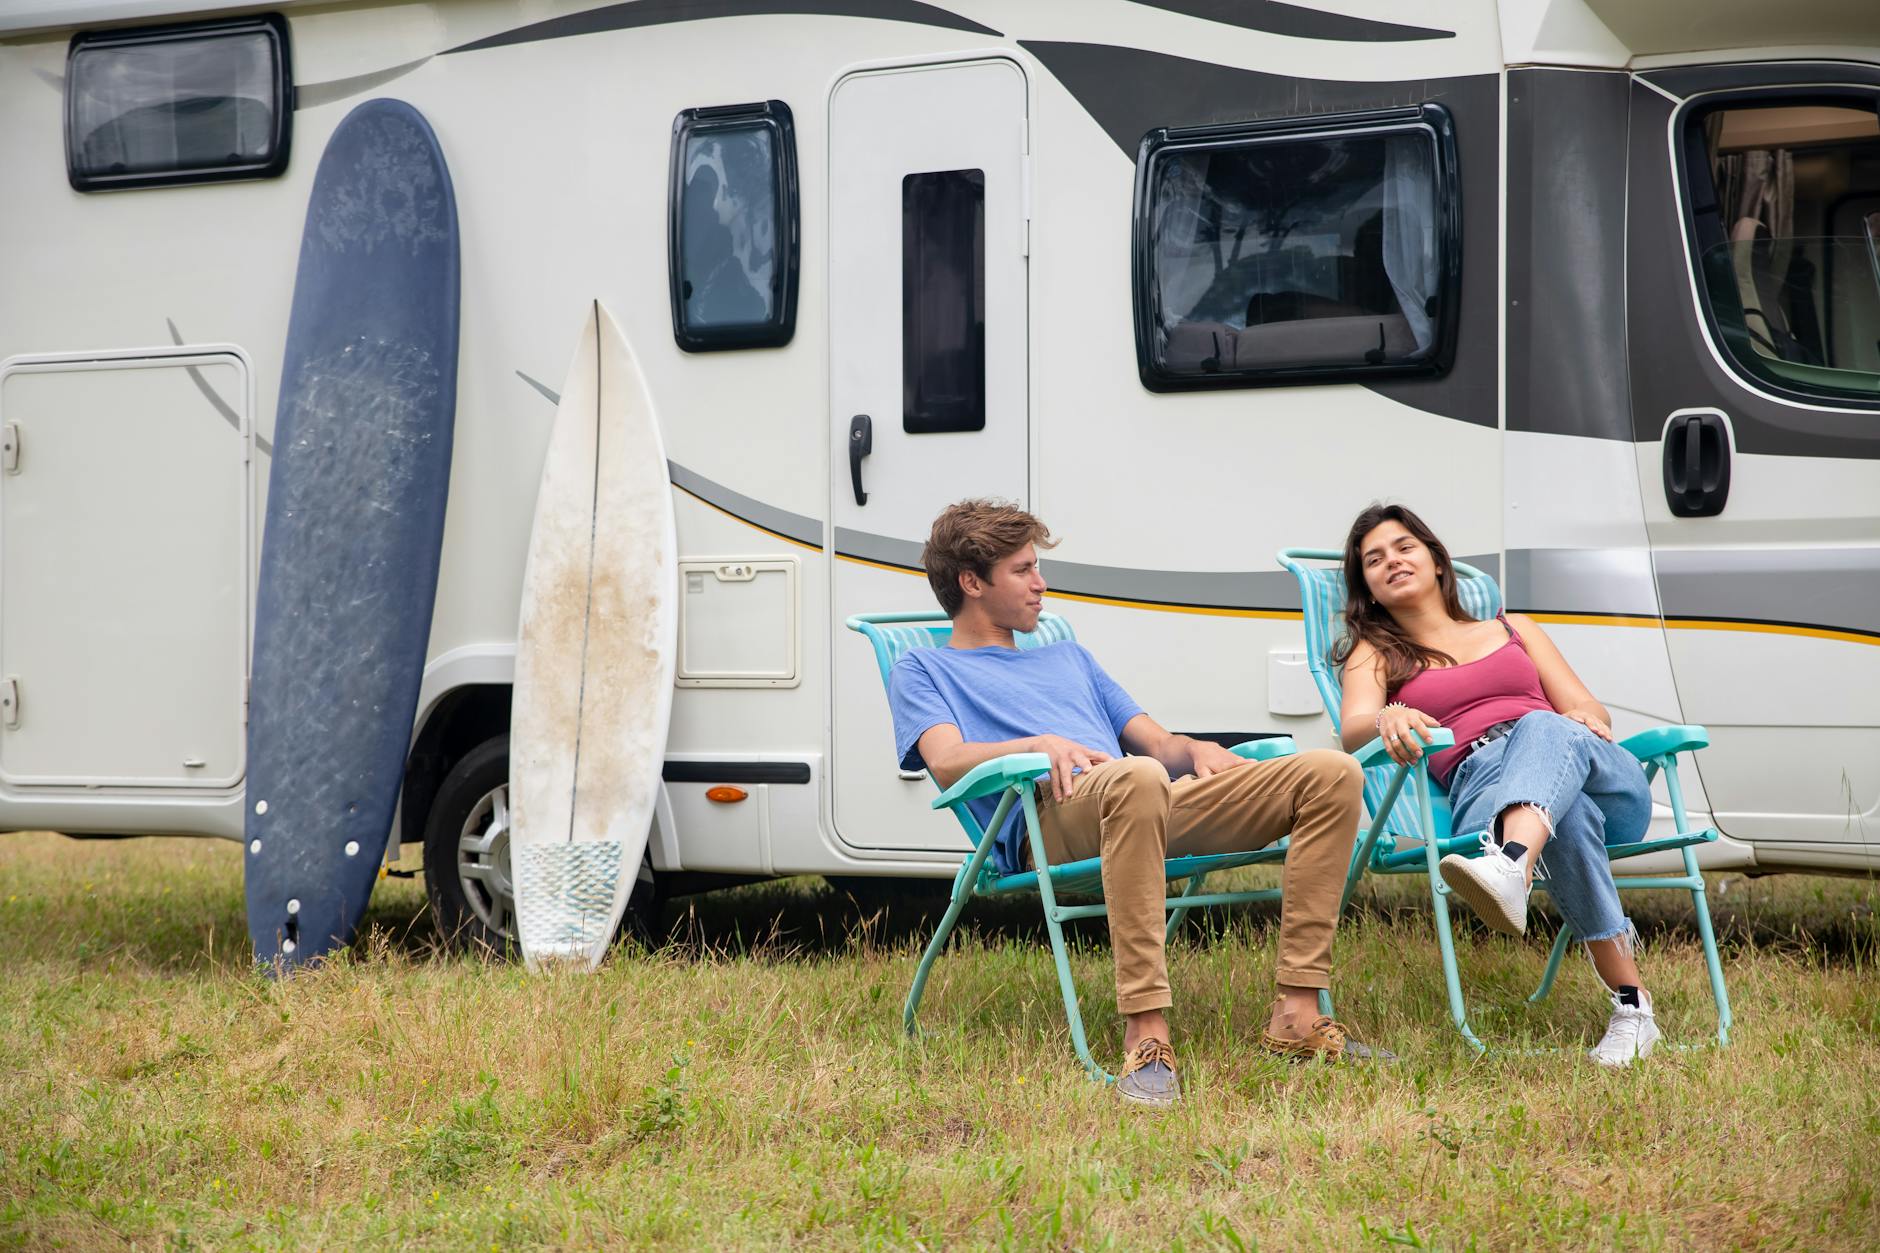
Leveling Jack Ground Plates

Most RV manufacturers include a set of rubberized or hard plastic ground plates somewhere inside the rig, often stowed in a velcro pocket inside the front bay door or beneath the step well. These plates are designed to be placed under electric or hydraulic leveling jacks when parking on soft ground, gravel, or asphalt in warm weather. Without them, jack pads can sink unevenly and cause the entire leveling system to recalibrate repeatedly, draining the battery. The plates distribute weight across a wider surface area and significantly extend the life of the jack foot pads. Owners who are unaware they have these plates often purchase aftermarket alternatives when the solution was already onboard.
Inverter Battery Disconnect
Many RVs with built-in inverters include a secondary battery disconnect switch specifically for the inverter circuit, separate from the main house battery shutoff. This switch is designed to cut power to the inverter without disabling the rest of the 12-volt system, which is essential during storage to prevent parasitic drain. It is usually a small rocker or toggle switch mounted near the inverter unit itself, which is often located under the bed, in the wet bay, or behind a living area panel. Owners who leave their RV plugged into shore power for extended periods frequently wonder why their battery banks deplete faster than expected, and this switch is often the answer. Activating it before any storage period longer than a week can meaningfully extend battery longevity.
Exterior Kitchen Prep Space

A number of Class A and Class C motorhomes include a folding or drop-down prep surface built into the exterior kitchen cabinet structure that is easy to miss when the door is closed. This surface is not always labeled and may appear identical to a standard cabinet face until a release latch is pressed or a lower edge is lifted. It provides a clean, hard workspace directly beside the outdoor stove or sink, eliminating the need to carry a separate folding table for outdoor cooking. The surface is typically made from moisture-resistant laminate and rated for moderate weight loads including cutting boards and small appliances. Reviewing the exterior cabinetry layout in your owner’s manual is the fastest way to determine whether this feature is present on your model.
USB Hub Behind Furniture

A surprising number of newer RVs include factory-installed USB charging hubs tucked behind the headboard of the master bed, inside a bedroom wardrobe panel, or along the back of a fixed sofa. These hubs are wired directly into the 12-volt system and remain active whenever the house battery is charged, making them completely independent of shore power or the inverter. They are often hidden by furniture placement during the factory setup and are never mentioned during dealership walkthroughs. Owners who discover them report significantly less reliance on portable battery banks and power strips during extended off-grid stays. A systematic inspection of all fixed furniture panels and cabinetry backs is the most reliable way to locate any hubs your specific layout may include.
Convertible Dinette Bed
The dinette in many entry-level and mid-range RVs is engineered to convert into a flat sleeping surface with a mechanism that most owners never fully investigate. Beyond simply folding the table down, the seat cushions and table surface can be repositioned in a specific sequence to create a firm and surprisingly spacious bed without any additional accessories. The conversion steps are outlined in the original owner’s manual but are rarely demonstrated at the dealership. This sleeping space is ideal for accommodating additional guests or as a comfortable alternative during warmer nights when the main bedroom retains heat. Practicing the conversion before your first trip with guests ensures the process is smooth and stress-free when it matters most.
Tire Pressure Monitoring Pre-Wire
Many RV chassis manufacturers include a pre-installed wiring harness and receiver mount for a tire pressure monitoring system even when the sensors and display unit are not included in the base package. The receiver bracket is typically located near the driver’s side dash or mounted on the side wall of the cockpit, and the wiring terminates in a small capped connector. This means adding a compatible TPMS system requires nothing more than plugging in the display unit and installing the wheel sensors, with no custom wiring or drilling required. Tire pressure monitoring is widely regarded as one of the most impactful safety upgrades for any road-going vehicle, and having the infrastructure already in place makes the addition effortless. Checking your chassis documentation will confirm compatibility with specific TPMS brands recommended by the manufacturer.
Heated Underbelly System
A growing number of four-season capable RVs include an enclosed and heated underbelly that circulates warm air from the furnace through a series of ducts running beneath the floor, protecting water lines and the holding tank from freezing in cold climates. This system is entirely separate from the interior heating vents and operates automatically whenever the furnace is running, requiring no manual switching. Many owners of four-season models are unaware this system exists because the underbelly panels are sealed and there are no visible controls inside the coach. It is one of the primary distinctions between a standard three-season unit and a true cold-weather RV, and understanding it can inform decisions about camping season extension. Consulting the specification sheet for your model year will confirm whether a passive enclosure or an active heated system is in place.
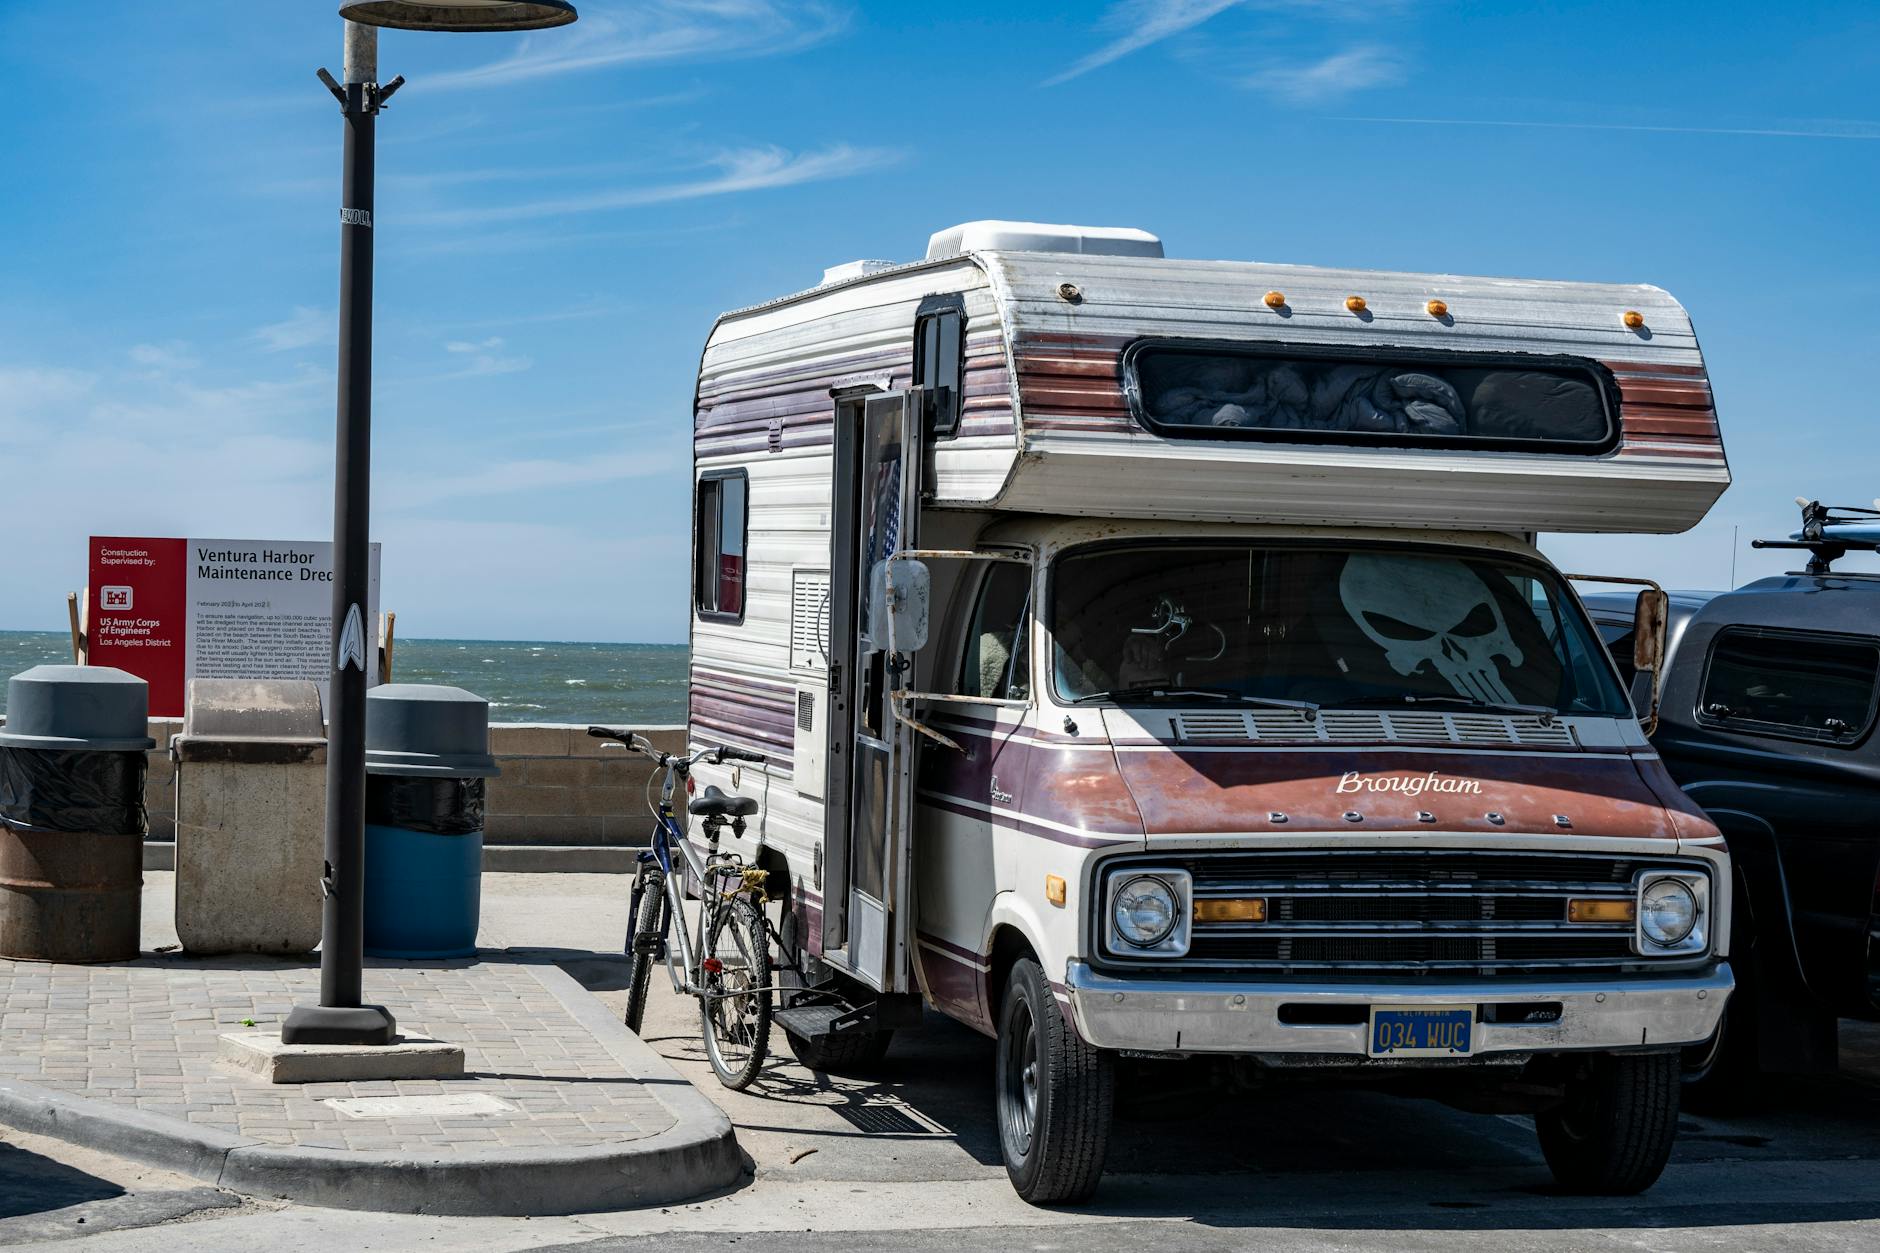
Propane Quick-Connect Port

Tucked near the exterior kitchen or rear utility bay on many propane-equipped rigs is a quick-connect port that allows direct attachment of a propane hose without accessing the main tank regulator. This port is designed for running portable propane appliances such as outdoor grills, fire pits, or patio heaters directly from the onboard tank supply. It eliminates the need to carry and swap portable one-pound canisters and draws from the larger main tank with no pressure adjustment required. The port is often covered by a small rubber dust cap that makes it easy to overlook as a functional component rather than a simple drain or vent. A compatible quick-connect hose adapter is inexpensive and widely available at RV supply stores, and the upgrade takes only a matter of seconds to install.
Manual Override Slide Controls

Every electric or hydraulic slide-out system in a modern RV includes a manual override mechanism that allows the room to be retracted without any battery or engine power. This override is required by safety regulations but its location is one of the least communicated details during any dealership handover. It typically takes the form of a hex key port, a hand crank socket, or a manual pump valve positioned near the slide’s motor housing or hydraulic control block. Knowing exactly where it is and how to use it before you need it can be the difference between a minor inconvenience and being stranded roadside with a room extended onto a busy highway. Practicing the override procedure during a calm maintenance session at home is a habit that every RV owner should build early.
Which of these hidden features surprised you the most? Share your discoveries and any others you have found in the comments.