The blender is one of those kitchen workhorses that earns its spot on the counter every single day. Whether it’s morning smoothies, creamy nut butters, velvety hummus, or baby food, the machine pulls its weight in ways few other appliances can match. The downside, of course, is the cleanup. Sticky residue clings to the blades, colorful ingredients stain the jar, and the whole thing can feel like more trouble than it’s worth. The good news is that the process doesn’t have to be a headache, and a culinary expert has a remarkably simple method that most home cooks are not using.
Adam Wilson, a culinary education director, shared his approach with Simply Recipes, and it begins with something almost everyone skips: a proper initial rinse. Before doing anything else, hold the blender jar under warm running water to flush out any leftover food particles. Wilson is particular about water temperature, noting that “warm water is generally the best choice for removing residue from the walls of the jar.” That one step alone makes everything that follows much easier.
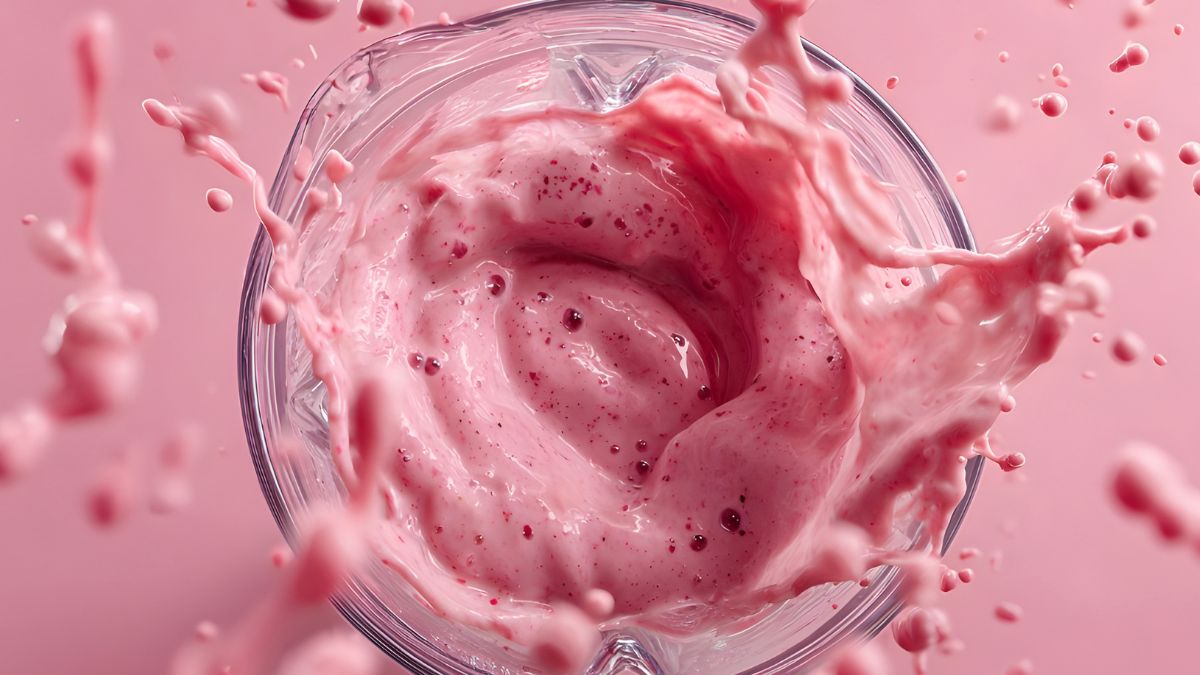
Once the jar has been rinsed, fill it roughly halfway with warm water and add just a drop or two of dish soap. The amount of soap matters more than most people realize. Because the blender motor is so powerful, even the tiniest amount of detergent can whip up an enormous volume of foam. Too much soap and you will spend twice as long rinsing it out. With the lid secured firmly, start the blender on its lowest setting and gradually increase to full speed. Let it run for about 30 seconds, or until the inside is full of soapy foam, then pour it out and rinse the jar thoroughly under warm water until no trace of soap remains. Air drying the jar upside down on a rack ensures the interior dries completely, preventing any musty odors from building up inside.
When it comes to the dishwasher, Wilson advises against it for most models. High heat can warp or damage the components, particularly in older blenders, and hand washing takes only a minute once you have the routine down. The self-cleaning blending method is far gentler on the machine and just as effective. The only time additional effort is needed is when stubborn staining has already set in, which is more common than most people expect.
Certain ingredients are notorious for leaving behind vivid, persistent discoloration. Wilson explains that “spices and herbs such as turmeric, curry, cloves, cinnamon, or saffron contain volatile oils that can stain the blender jar.” When that happens, the fix involves pouring equal parts water and white vinegar into the jar, then allowing the mixture to soak for several hours. After pouring out the liquid, use a soft brush to scrub the interior gently, taking care around the blade assembly. Wilson notes that this process may need to be repeated more than once to fully lift the staining. Patience is the key ingredient.
A few other habits help keep things in good shape over time. Cleaning the blender immediately after use prevents residue from hardening, making the whole process faster. Always making sure the lid is tightly in place before blending at high speed is not just a safety measure but also prevents leaks that would require cleaning the motor base as well. And if the blender has not been used in a while, giving it a quick self-cleaning cycle before using it again is never a bad idea.
The first blender was actually invented in 1922 by Stephen Poplawski, who designed it specifically to make malted milk drinks for soda fountain counters, meaning the machine has been a fixture in food service for over a century before it became a household staple. Turmeric, one of the most notorious blender stainers, gets its deep yellow color from a compound called curcumin, which bonds so readily to porous surfaces that it has historically been used as a fabric dye. The average American household blender motor spins the blades at speeds between 15,000 and 20,000 rotations per minute, which is why even a tiny drop of dish soap creates enough foam to fill the entire jar in seconds.
Do you have a cleaning trick for your blender that actually works? Share it in the comments!