Taking ownership of home maintenance allows homeowners to save thousands of dollars while building valuable skills. Many common household issues require only basic tools and a little patience rather than an expensive service call. Mastering these simple fixes transforms a daunting to-do list into a manageable weekend project. The following repairs cover plumbing, electrical, and general structural improvements suitable for beginners.
Unclogging A Bathroom Sink

Chemical drain cleaners can damage pipes over time so manual removal is often the safer choice for plumbing longevity. You can remove the P-trap located under the sink by loosening the slip nuts with a wrench or pliers. Place a bucket underneath the pipe to catch any standing water before you detach the trap completely. Clear out any debris or buildup found inside the curved pipe section before reattaching it. Run hot water through the drain for a minute to ensure the seal is tight and the clog is gone.
Patching Nail Holes In Drywall

Small holes left behind by pictures or artwork are easily concealed with a small tub of spackle. Clean the area around the hole to remove any loose debris or paint chips that might prevent adhesion. Press a small amount of spackle into the hole using a putty knife and swipe across it to create a flat surface. Allow the compound to dry completely before sanding it down gently with fine-grit sandpaper. Apply a touch of matching paint to blend the repair seamlessly with the surrounding wall.
Silencing Squeaky Floorboards

Squeaks in hardwood floors usually occur when boards rub against each other or the subfloor. Sprinkle a generous amount of talcum powder or baking soda over the noisy section of the floor. Use a soft broom or cloth to work the powder into the cracks between the boards. Walk back and forth over the treated area to help the lubricant penetrate deeper into the crevices. Wipe away any excess powder to reveal a quieter floor without using nails or screws.
Replacing A Worn Showerhead

Old showerheads often accumulate mineral deposits that restrict water flow and reduce pressure. Unscrew the existing head by turning it counterclockwise with an adjustable wrench or a pair of pliers. Clean the threads on the shower arm and wrap them with fresh Teflon tape to prevent future leaks. Screw the new showerhead onto the arm by hand until it is snug and finish tightening it with your tool. This simple upgrade instantly improves your shower experience and can lower water consumption.
Fixing A Running Toilet Flapper

A toilet that runs constantly typically has a faulty flapper valve that fails to seal the tank drain. Turn off the water supply valve located behind the toilet and flush the tank to empty it. Remove the old flapper by unhooking it from the overflow tube and detaching the chain from the flush lever. Install the specific replacement flapper for your toilet model and reconnect the chain with a little slack. Turn the water back on to verify the tank fills and stops appropriately.
Recaulking A Bathtub Rim
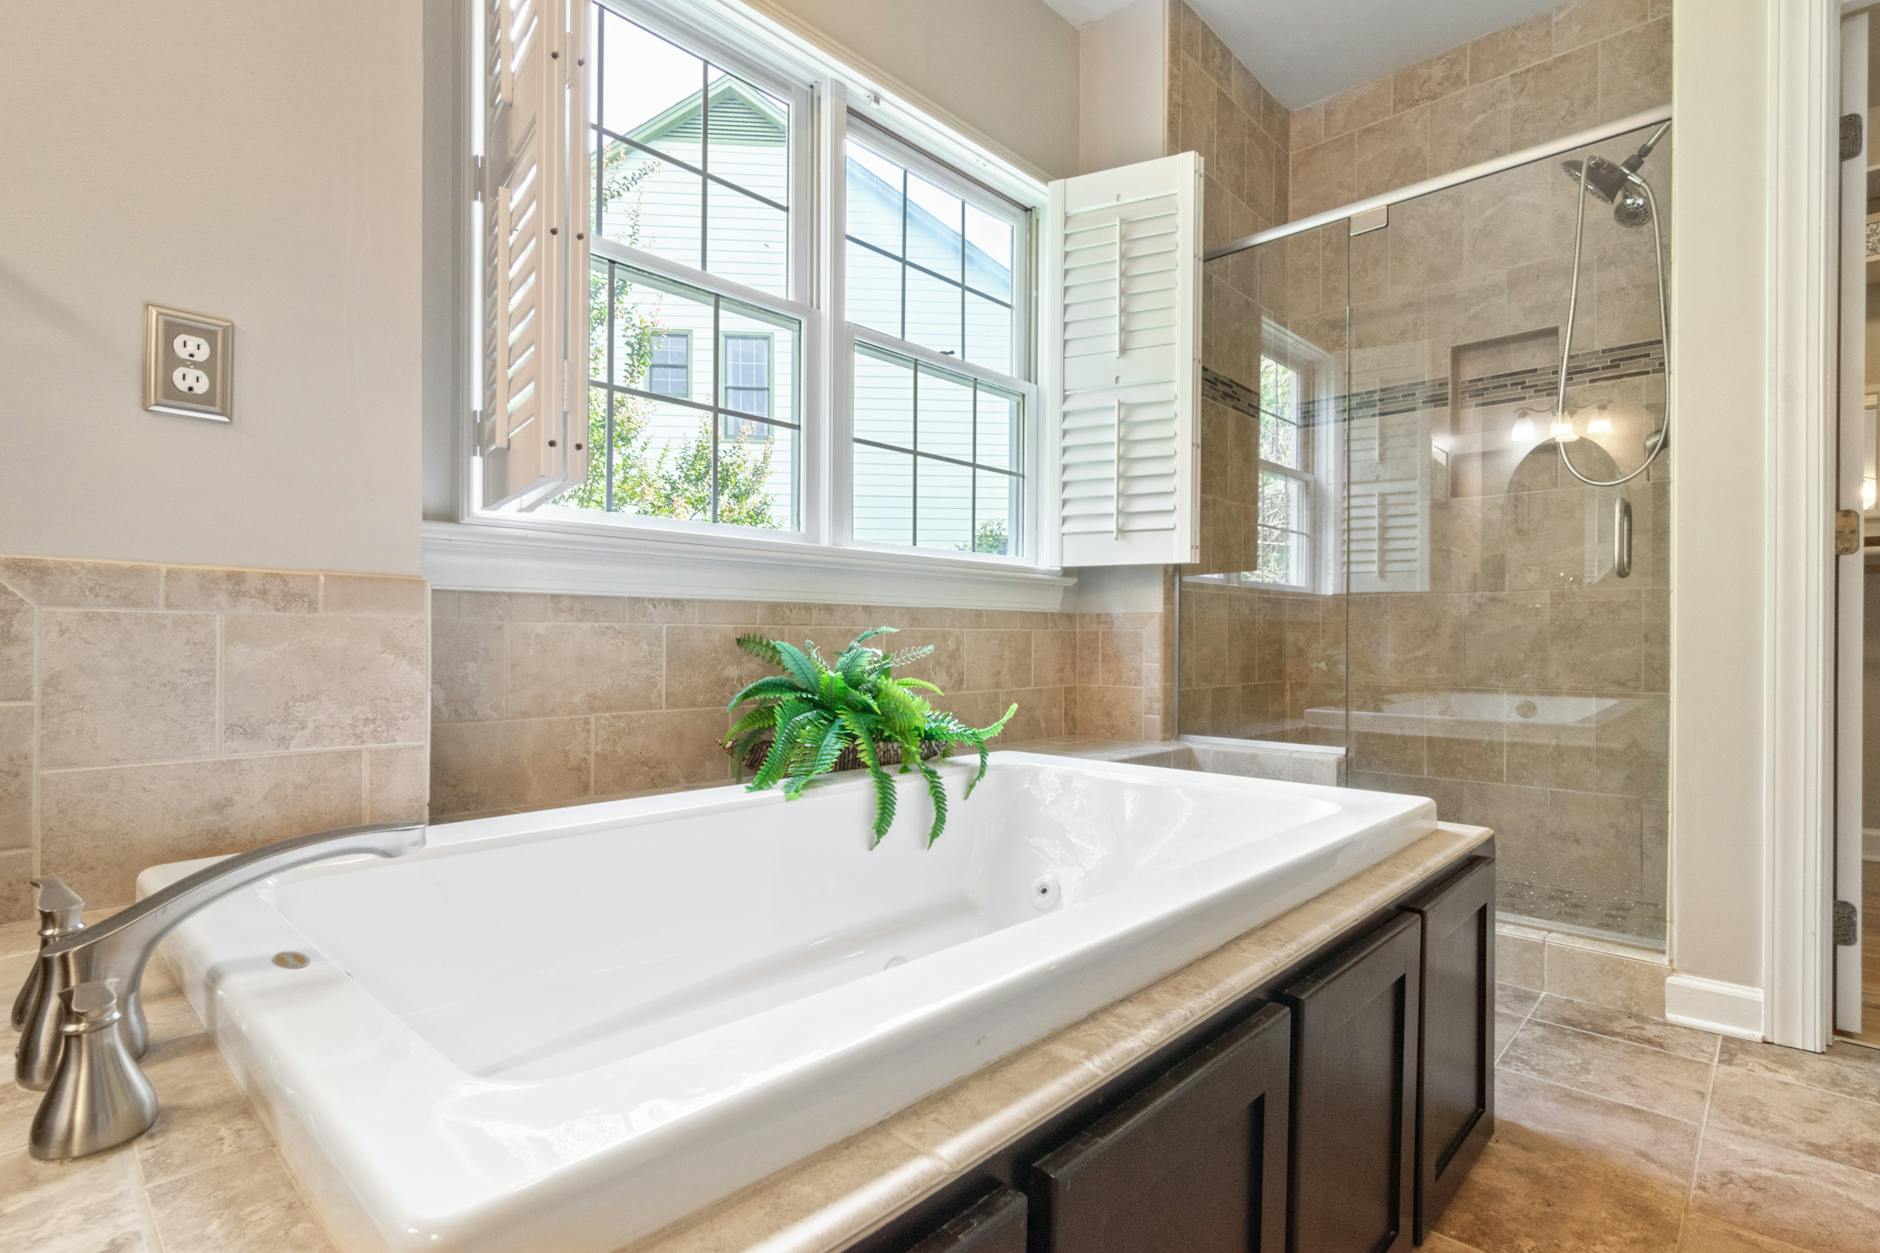
Moldy or peeling caulk around a bathtub looks unsightly and can lead to water damage behind the walls. Use a utility knife or a caulk removal tool to scrape away all the old sealant from the joint. Clean the area thoroughly with rubbing alcohol to remove soap scum and ensure the new caulk adheres well. Apply a steady bead of silicone caulk along the seam and smooth it with a wet finger or a caulk finishing tool. Let the caulk cure for at least twenty-four hours before using the shower again.
Tightening Loose Cabinet Hinges

Cabinet doors that hang unevenly or refuse to close properly usually suffer from loose hinge screws. Open the cabinet door and locate the mounting screws on both the door and the cabinet frame. Use a screwdriver to tighten these screws carefully until the door sits flush and level. If the screw holes are stripped you can insert a toothpick with wood glue into the hole before reinserting the screw. This quick fix restores the functionality and appearance of your kitchen or bathroom cabinetry.
Lubricating Sticking Windows

Windows that are difficult to open or close often just need a reduction in friction in the tracks. Vacuum the window tracks thoroughly to remove dirt, dust, and dead insects that accumulate over time. Spray a dry silicone lubricant directly into the tracks on both sides of the window frame. Open and close the window several times to distribute the lubricant evenly along the jambs. This maintenance task prevents strain on the window hardware and makes operation effortless.
Unjamming A Garbage Disposal

A disposal that hums but does not grind is likely jammed by a hard object or food particle. Turn off the power switch and look under the sink for the hex socket on the bottom of the disposal unit. Insert the appropriate hex wrench into the socket and manually rotate it back and forth to free the impellers. Press the red reset button on the bottom of the unit once the jam clears. Turn the water on and run the disposal to ensure it operates smoothly again.
Replacing A Broken Doorbell Button

Doorbell buttons are exposed to the elements and often fail due to corrosion or wear. Turn off the power to the doorbell at the circuit breaker to ensure safety while working with wires. Unscrew the old button from the doorframe and disconnect the two small wires attached to the back. Connect the wires to the terminals on the new button and screw the unit back into place. Restore the power and test the bell to confirm the chime sounds correctly.
Fixing A Wobbly Wood Chair

Chairs often become unstable when the glue in the joints dries out and loses its bond. pull the loose leg or rung out of its socket and scrape away the old dried glue. Apply a generous amount of high-quality wood glue to the tenon and reinsert it into the socket. Use a clamp or a heavy strap to hold the joint tightly together while the adhesive cures overnight. This repair strengthens the furniture and prevents the leg from breaking under pressure.
Replacing A Damaged Window Screen

Torn window screens allow insects to enter the home but are simple to repair with a spline tool. Remove the screen frame from the window and lay it on a flat surface like a table or driveway. Pull out the rubber spline that holds the mesh in place and discard the damaged screen material. Roll new screen mesh over the frame and press the new spline into the groove using the roller tool. Trim the excess mesh with a utility knife for a clean and professional finish.
Sealing Drafty Windows

Drafts around windows significantly increase heating and cooling costs throughout the year. Apply self-adhesive weather stripping foam along the bottom of the sash where it meets the sill. You can also use window insulation film that shrinks tight when heated with a hair dryer to create an airtight seal. Inspect the exterior caulking and fill any gaps between the window frame and the siding. These barriers keep conditioned air inside and improve the overall comfort of the room.
Changing A Standard Wall Switch

A faulty light switch can be replaced quickly once you take proper safety precautions. Turn off the circuit breaker that controls the switch and verify the power is off with a voltage tester. Remove the faceplate and unscrew the switch from the electrical box to expose the wiring. Transfer the wires from the old switch to the corresponding terminals on the new unit one at a time. Screw the new switch back into the box and reattach the faceplate before restoring power.
Installing A Programmable Thermostat
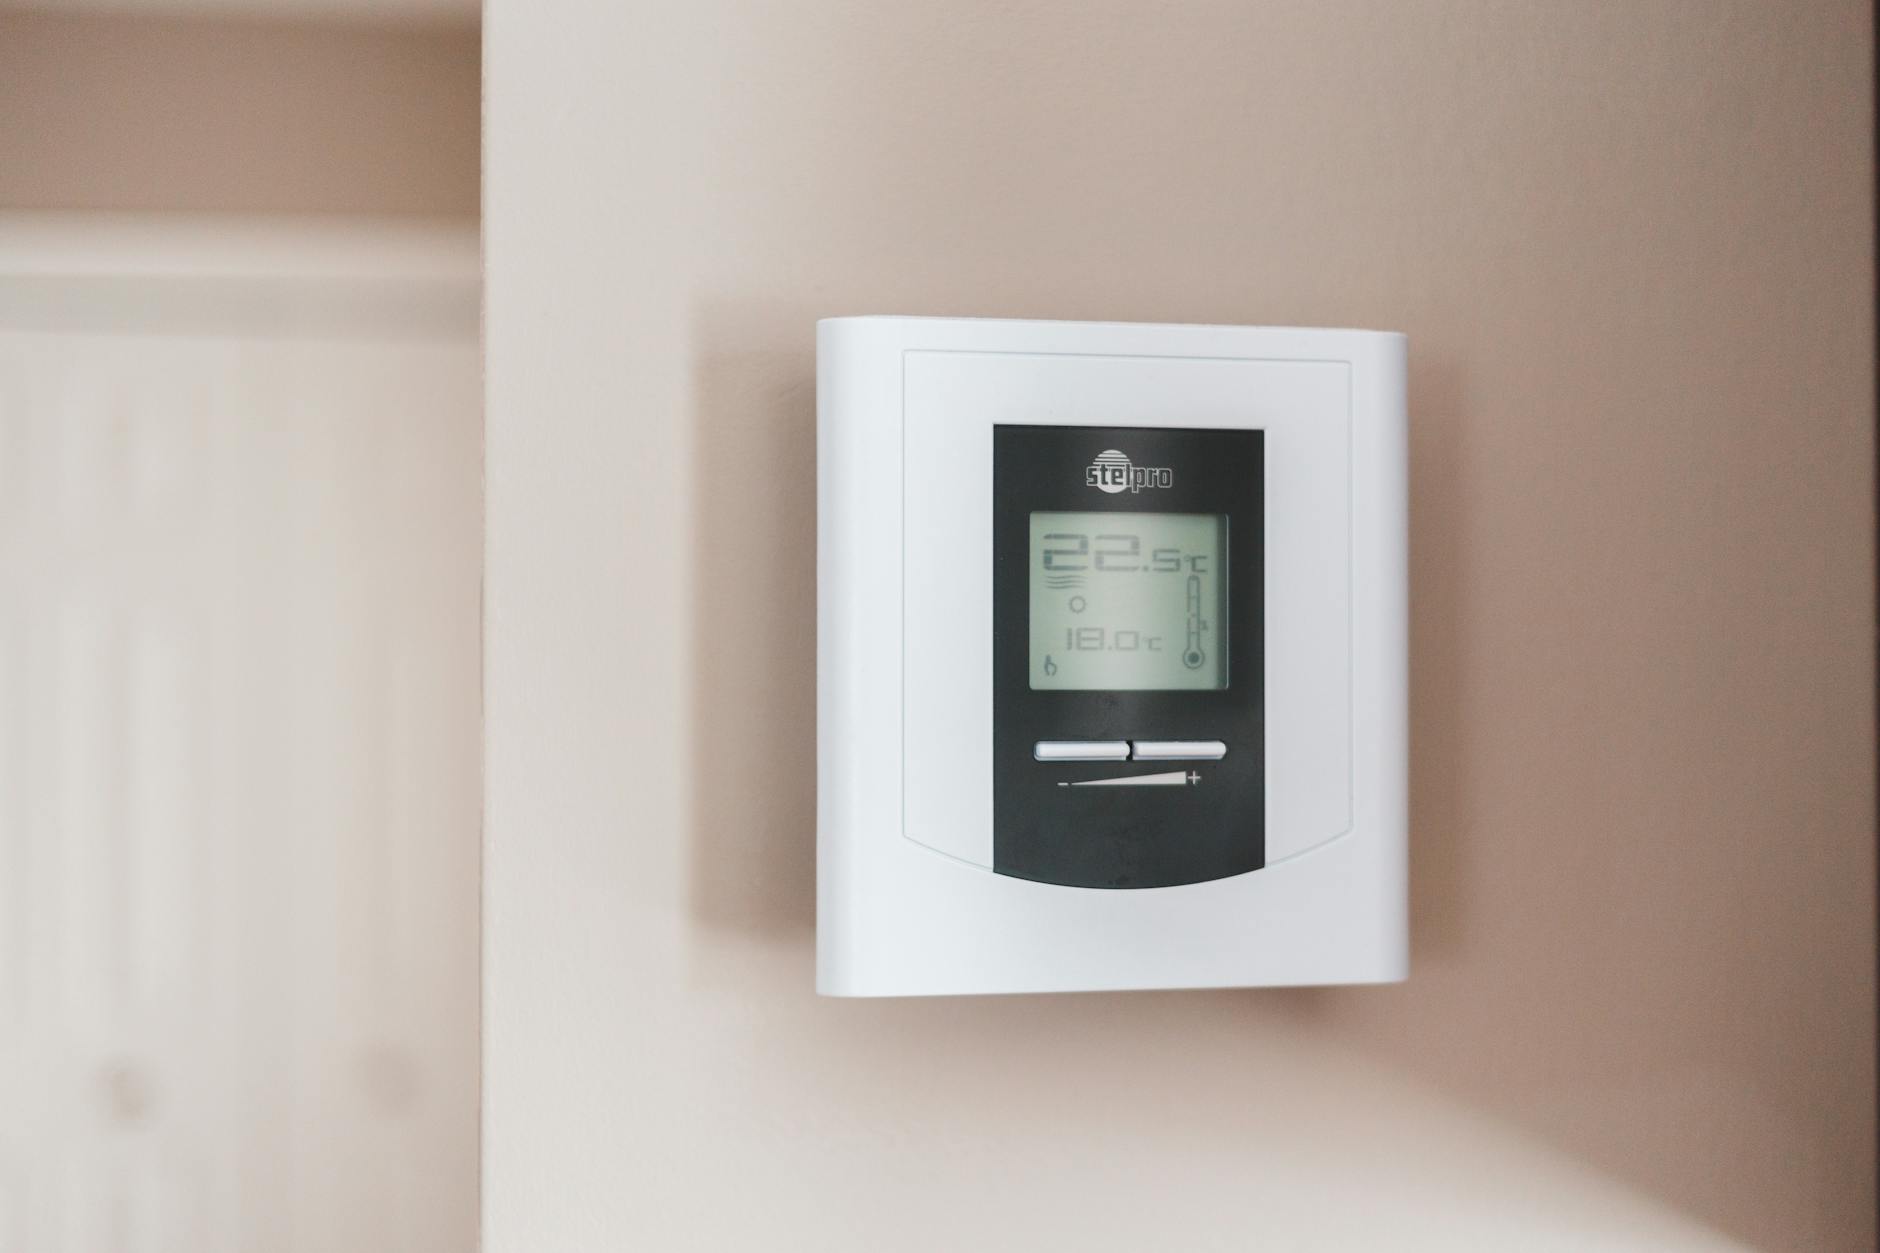
Upgrading to a programmable thermostat helps regulate home temperature and reduces energy waste. Turn off the power to the HVAC system at the breaker panel before removing the old thermostat face. Label the wires with masking tape according to the letters on the old terminals before disconnecting them. Mount the new base plate to the wall and connect the labeled wires to the matching terminals. Snap the new thermostat interface onto the base and follow the manufacturer instructions for setup.
Touching Up Scratched Furniture

Minor scratches on wood furniture can be hidden without refinishing the entire piece. walnuts contain natural oils that can darken wood and hide small abrasions when rubbed over the scratch. For deeper scratches you can use a wax fill stick that matches the color of the wood finish. Rub the stick over the damage until the scratch is filled and buff the area with a soft cloth. This cosmetic fix preserves the aesthetic of expensive tables and dressers.
Replacing A Toilet Handle

A broken or corroded flush handle makes flushing difficult and degrades the look of the bathroom. Unhook the chain connecting the handle arm to the flapper inside the toilet tank. Unscrew the nut holding the handle in place by turning it clockwise since these threads are often reversed. Slide the old arm out and insert the new handle through the hole in the tank. Tighten the mounting nut and reattach the flapper chain to restore flushing function.
Fixing A Sticking Door Latch

Doors that do not latch properly often have a misalignment between the strike plate and the latch bolt. Mark the point where the latch hits the doorframe with lipstick or chalk to see how far off it is. You can use a metal file to enlarge the opening in the strike plate slightly to accommodate the bolt. If the misalignment is significant you may need to move the strike plate up or down. Tightening the hinge screws can also lift the door enough to align the latch again.
Restoring Discolored Grout

Grout lines between tiles absorb dirt and grease which causes them to darken over time. create a paste using baking soda and water and apply it generously to the grout lines. Scrub the mixture into the grout with a stiff toothbrush or a dedicated grout brush. Rinse the area with warm water and wipe it dry to reveal brighter lines. Applying a grout sealer afterward helps protect the porous material from future staining.
Replacing Vinyl Floor Tiles

Damaged self-adhesive vinyl tiles are easy to swap out without disturbing the rest of the floor. Heat the damaged tile with a hair dryer or heat gun to soften the adhesive underneath. Pry the tile up with a putty knife and scrape away any remaining glue residue from the subfloor. Peel the backing off the replacement tile and press it firmly into the empty space. Place a heavy object on the new tile for a few hours to ensure a strong bond.
Fixing A Loose Faucet Handle

A loose faucet handle can strip the internal stem and eventually lead to leaks. Look for a small screw cover or decorative cap on the top or side of the handle. Pop the cap off with a small flathead screwdriver to reveal the set screw underneath. Tighten the screw with a screwdriver or hex key until the handle feels secure again. Replace the decorative cap to hide the screw and complete the repair.
Repairing A Carpet Snag

Pulling a loose thread in a carpet can unravel the weave and create a noticeable run. Snip the loose yarn loop flush with the surface of the carpet using sharp scissors. Apply a small dot of fabric glue into the base of the tuft to prevent further unraveling. If the snag has created a bald spot you can glue in a small tuft of fibers trimmed from a hidden area. Blend the fibers with the surrounding carpet for an invisible repair.
Cleaning Refrigerator Condenser Coils

Dusty condenser coils force your refrigerator to work harder and use more electricity to maintain cool temperatures. Locate the coils either behind the kick plate at the bottom or on the back of the fridge. Use a coil cleaning brush to dislodge dust and pet hair from the crevices between the coils. Vacuum up the debris with a hose attachment to leave the area clean. This maintenance task extends the life of the compressor and improves cooling efficiency.
Tightening A Loose Doorknob

Doorknobs that rattle or spin loosely are usually the result of screws backing out over time. Look for the mounting screws on the interior side of the door faceplate. Hold the knob on the opposite side steady while you tighten the screws with a screwdriver. If the screws cannot tighten further due to stripped wood you can use the toothpick method mentioned earlier. A solid doorknob improves security and the tactile feel of the home.
Replacing A Broken Tile

A single cracked ceramic tile does not require replacing the entire floor or backsplash. Use a hammer and nail set to chip away the broken tile carefully from the center outward. Scrape out the old adhesive and grout from the empty space to create a flat base. Apply thin-set mortar to the back of the new tile and press it into place. Grout around the edges once the mortar is dry to match the surrounding installation.
Fixing A Slow Draining Tub
Hair and soap buildup often accumulate in the bathtub drain mechanism and slow water flow. Unscrew the overflow plate located on the tub wall and pull out the attached drain stopper linkage. Clean off the hair and gunk that has gathered on the spring or rocker arm assembly. Run a flexible plastic drain stick down the overflow pipe to catch any remaining clogs. Reassemble the linkage and screw the plate back on to test the drainage speed.
Repairing Wallpaper Seams

Peeling wallpaper seams can make a room look neglected but are easy to paste back down. Lift the peeling edge gently and use a small brush to remove any dust or debris. Apply a small amount of seam repair adhesive to the wall and the back of the paper. Press the wallpaper back against the wall and use a seam roller to flatten it out. Wipe away any excess adhesive with a damp sponge before it dries.
Replacing Weather Stripping

Worn weather stripping around doors allows heat to escape and pests to enter. Pull the old stripping out of the kerf slot in the door jamb or scrape off adhesive foam. Measure the height of the door and cut the new weather stripping to the exact length needed. Press the flange of the new stripping into the slot or adhere the foam to the stop molding. Test the door to ensure it closes tightly and seals out light and air.
Fixing A Bent Blind Slat
Aluminum or vinyl blinds with bent slats can be repaired without buying a new set. Put on a thick pair of gloves to protect your hands from sharp edges. Place the bent slat over a curved object like a dowel or pipe that matches the slat curvature. Apply gentle pressure to mold the slat back into its original shape. If the crease remains visible you can often rotate the slat to a less conspicuous position.
Replacing A Dryer Vent Hose

A crushed or clogged dryer vent hose is a serious fire hazard and reduces drying efficiency. Disconnect the dryer from the power source and pull it away from the wall. Loosen the clamps securing the old hose to the dryer and the wall vent to remove it. Attach a new rigid or semi-rigid metal vent hose which is safer than foil or plastic. Secure the clamps tightly and push the dryer back into place carefully to avoid crushing the new vent.
Please tell us which of these home repairs you are planning to tackle this weekend in the comments.